I had originally thought about teaching sewing, hand and machine sewing. But the first class was a bit of a tactical disaster... no one could thread the needles, even with the easy threaders, they couldn't tie knots etc. I was met within minutes with a chorus of "I can't do this and I need help" and surrounded and eventually backed into a corner. I got really good at quickly threading the needles and the kids were really patient with me. The crocodile sewing kits were really adorable.
 |
| Crocodile sewing kit |
 |
| Open wide... |
Instead of trying sewing again, I came up with several other ideas... decorating their initial with flowers, shells, feathers... making a god's eye with stick's and variegated yarn, and bookmarks.
For Mother's Day, the crafts were all about Mom. Tissue Paper flowers: poppies, Irises, and daisies. (At least that's what I tried to have them make) Simple Beaded necklaces and handprint flower cards.
 | |
| The charm is a heart that says "Made with Love" |
 |
| Serious workers! |

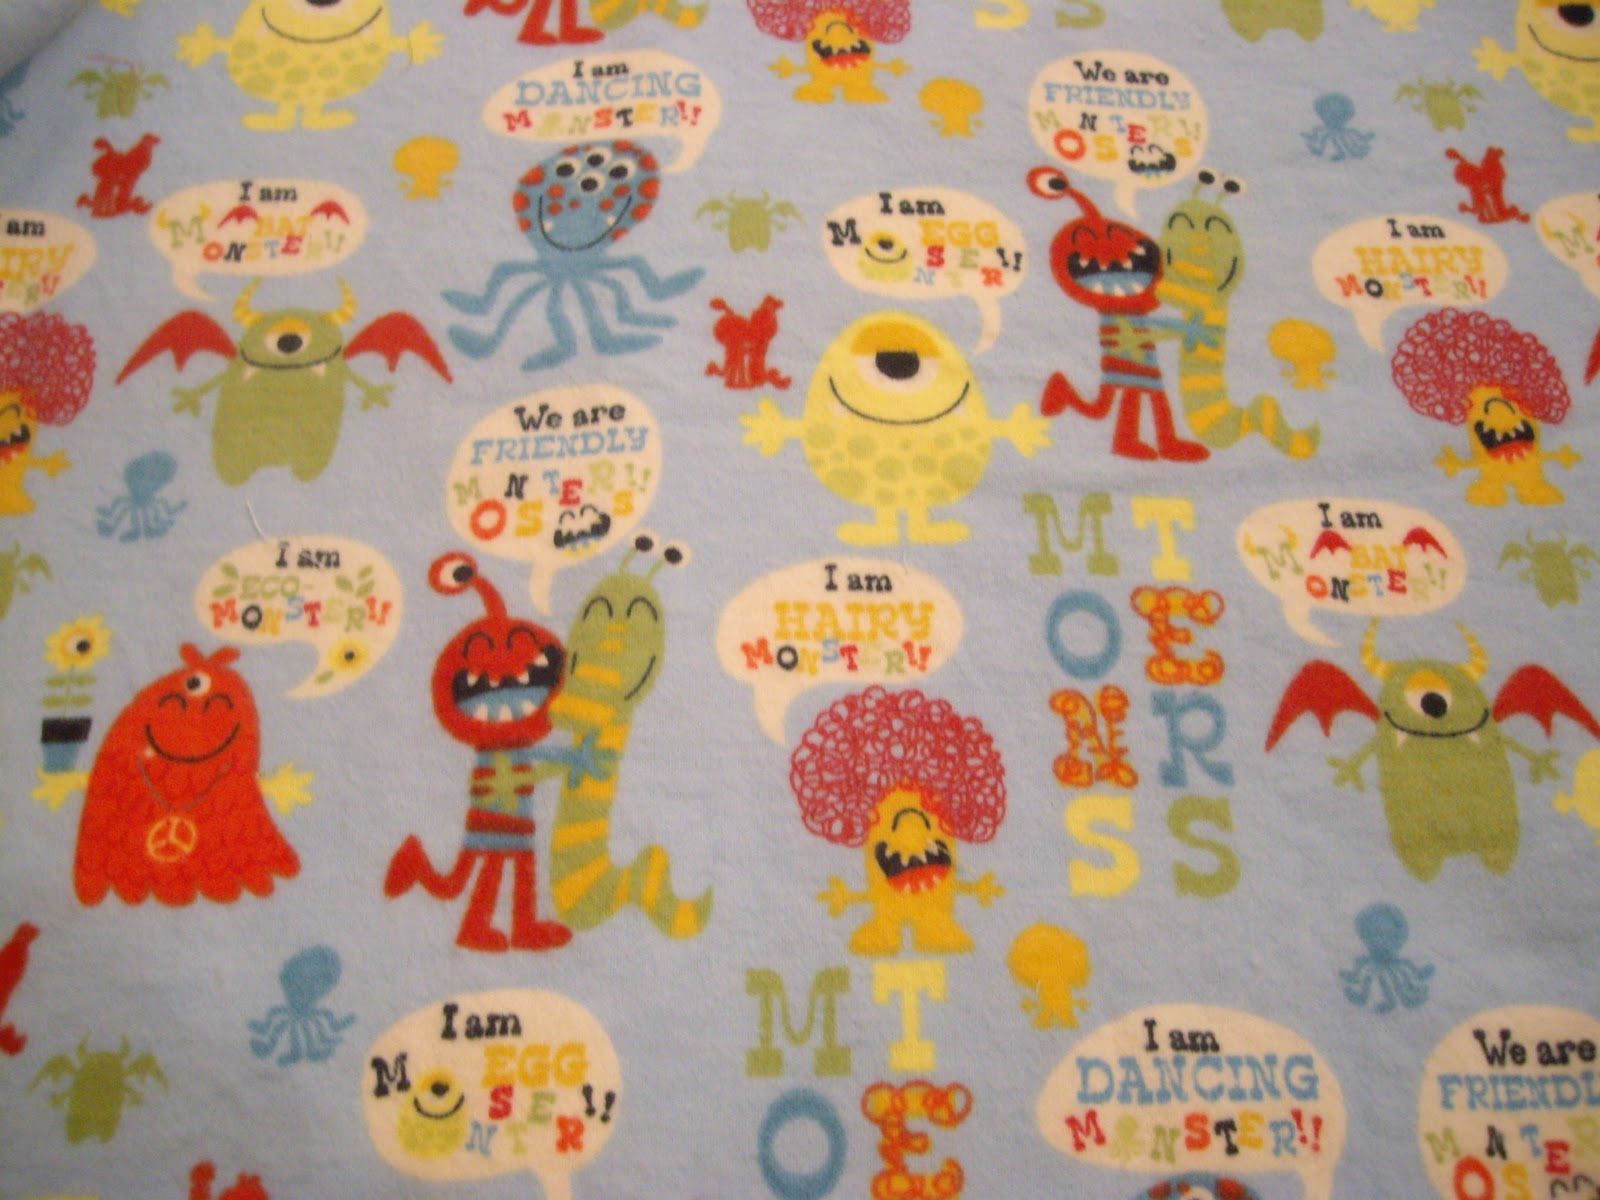
This week, as I have a week break before the last class, I thought I'd have the kids decorate some fabric and make some simple stuffed items from it. I gave the kids their choice of a horse (see my daughter's giraffe in a previous blog) bird, owl, initial or basic pillow. By and large the kids did an excellent job decorating the fabric (and the desks, floor and themselves - the paint is washable!)
I am excited to cut out the shapes and get them started. Here's a few images of their designs. And for the last class they will be sewing the pillow closed... and potentially sewing on some buttons and other beads. Hopefully, I'll have some reinforcements!


And we are finally getting some warm weather here. Really warm. Which signals the official start of ice cream season... well, it's always ice cream season for me (you should see the store coupons we get every month because we purchase so much ice cream... seriously a potential problem.)
I like to challenge myself when we have friends to dinner... the dessert is always a constant, Graeters ice cream. We've tried variations (ice cream sandwiches, truffles etc.) But this weekend I want to make my own drumsticks. So I've been trying out some sugar cone recipes. The first one I tried tastes delicious but really isn't what I think I want - for the drumsticks - but it is mighty fine as a suger cone. Once it cools it is really crunchy so if you don't work fast enough... you get cracks.
 |
| Only 4 ingredients! |
 |
| Soft peaks |
 |
| I first tried 7" circles which make huge cones... more like the waffle cones. |
 | ||||||||
| This one cooled before I got the hang of rolling it... it was tasty! |
We're making another batch tonight and a pound cake for the big birthday tomorrow.
I'll update the blog with photos of all my current projects!
Enjoy!
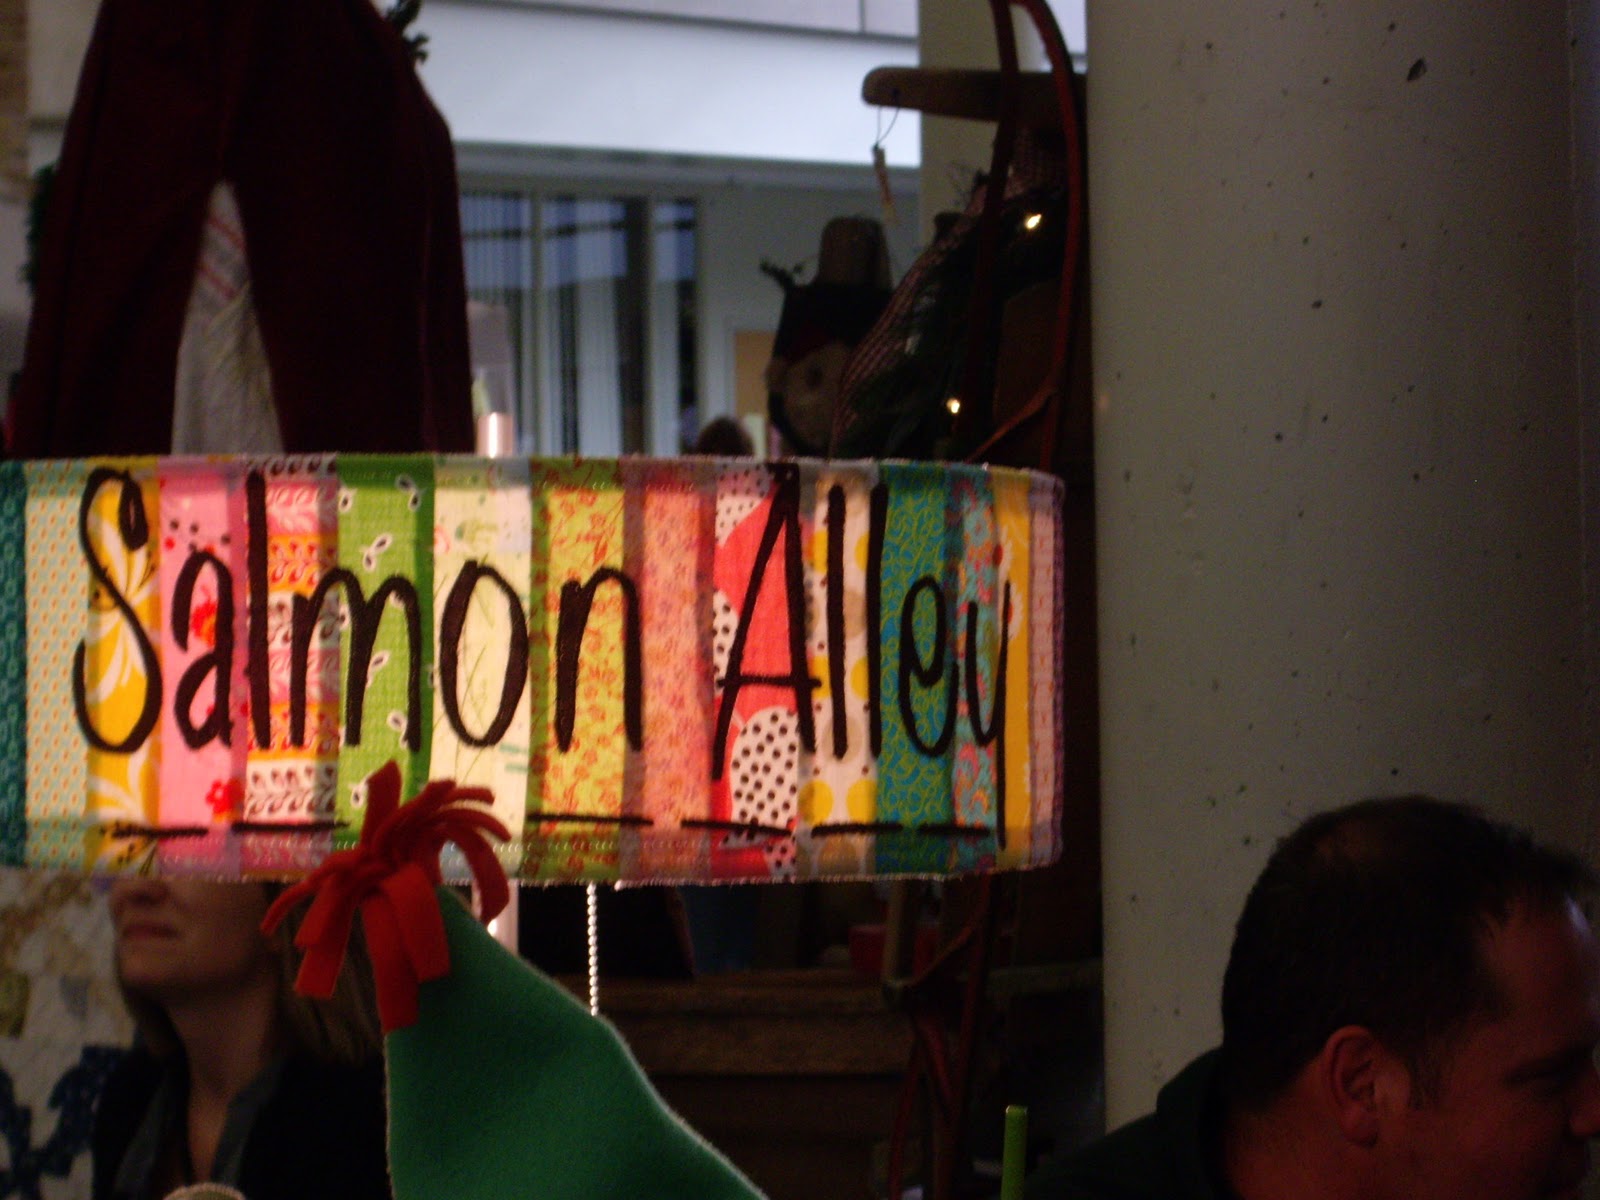
©salmonallley 2011


